How to Edit or Delete a User on AmniSphere Web
Navigate to the User Management Tab
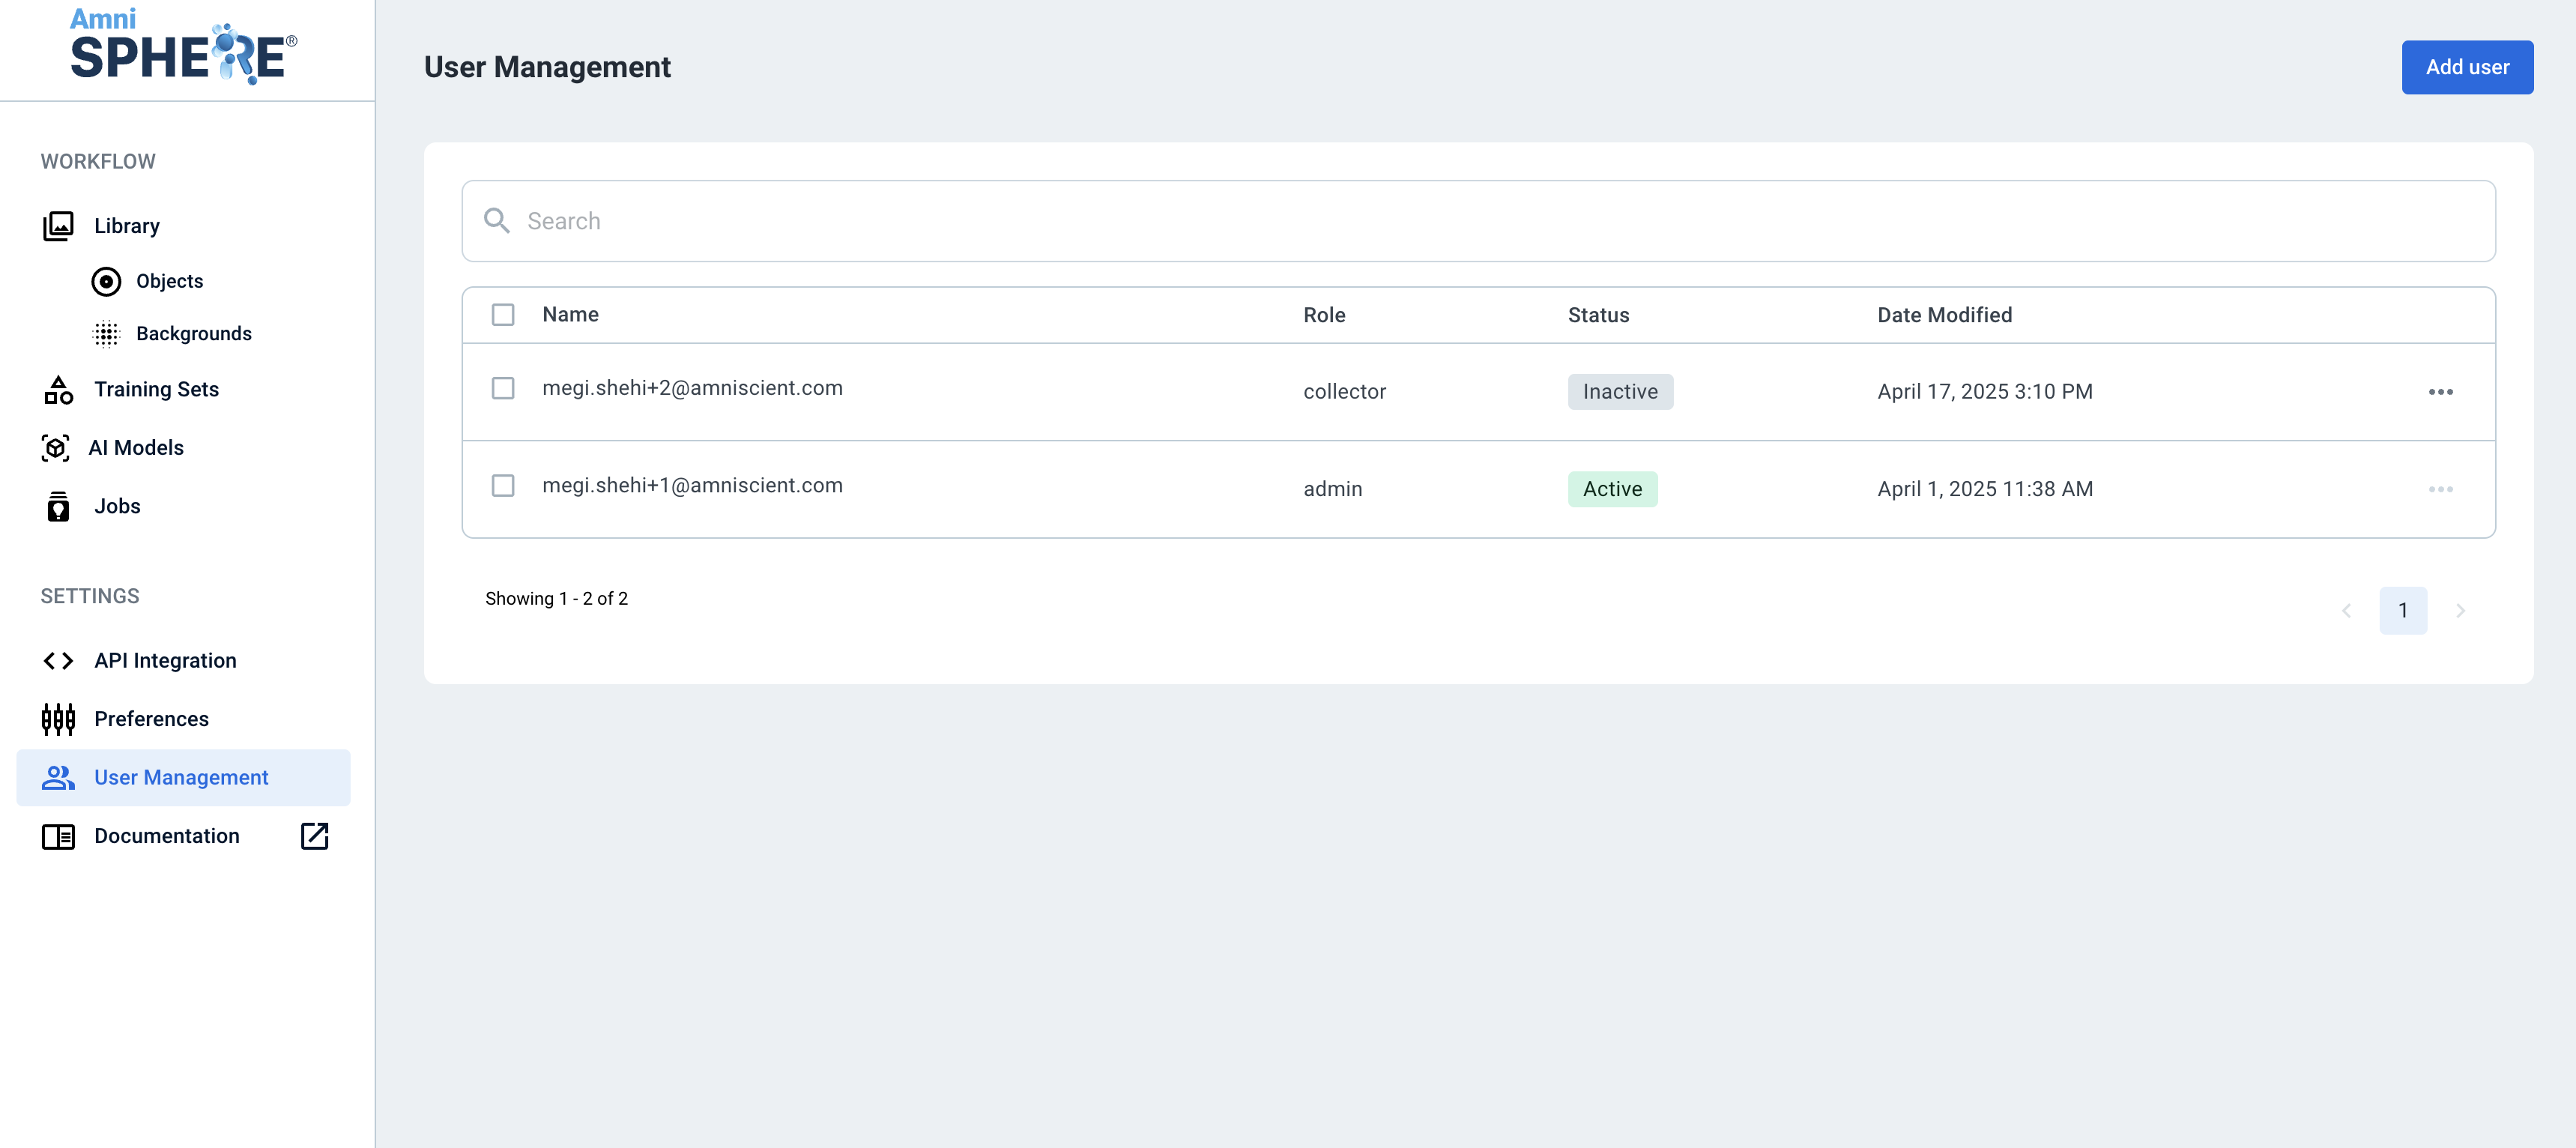
After logging in using your Amniscient credentials, navigate to the User Management tab. Make sure you are logged in to an account with Admin permissions.
Edit a User
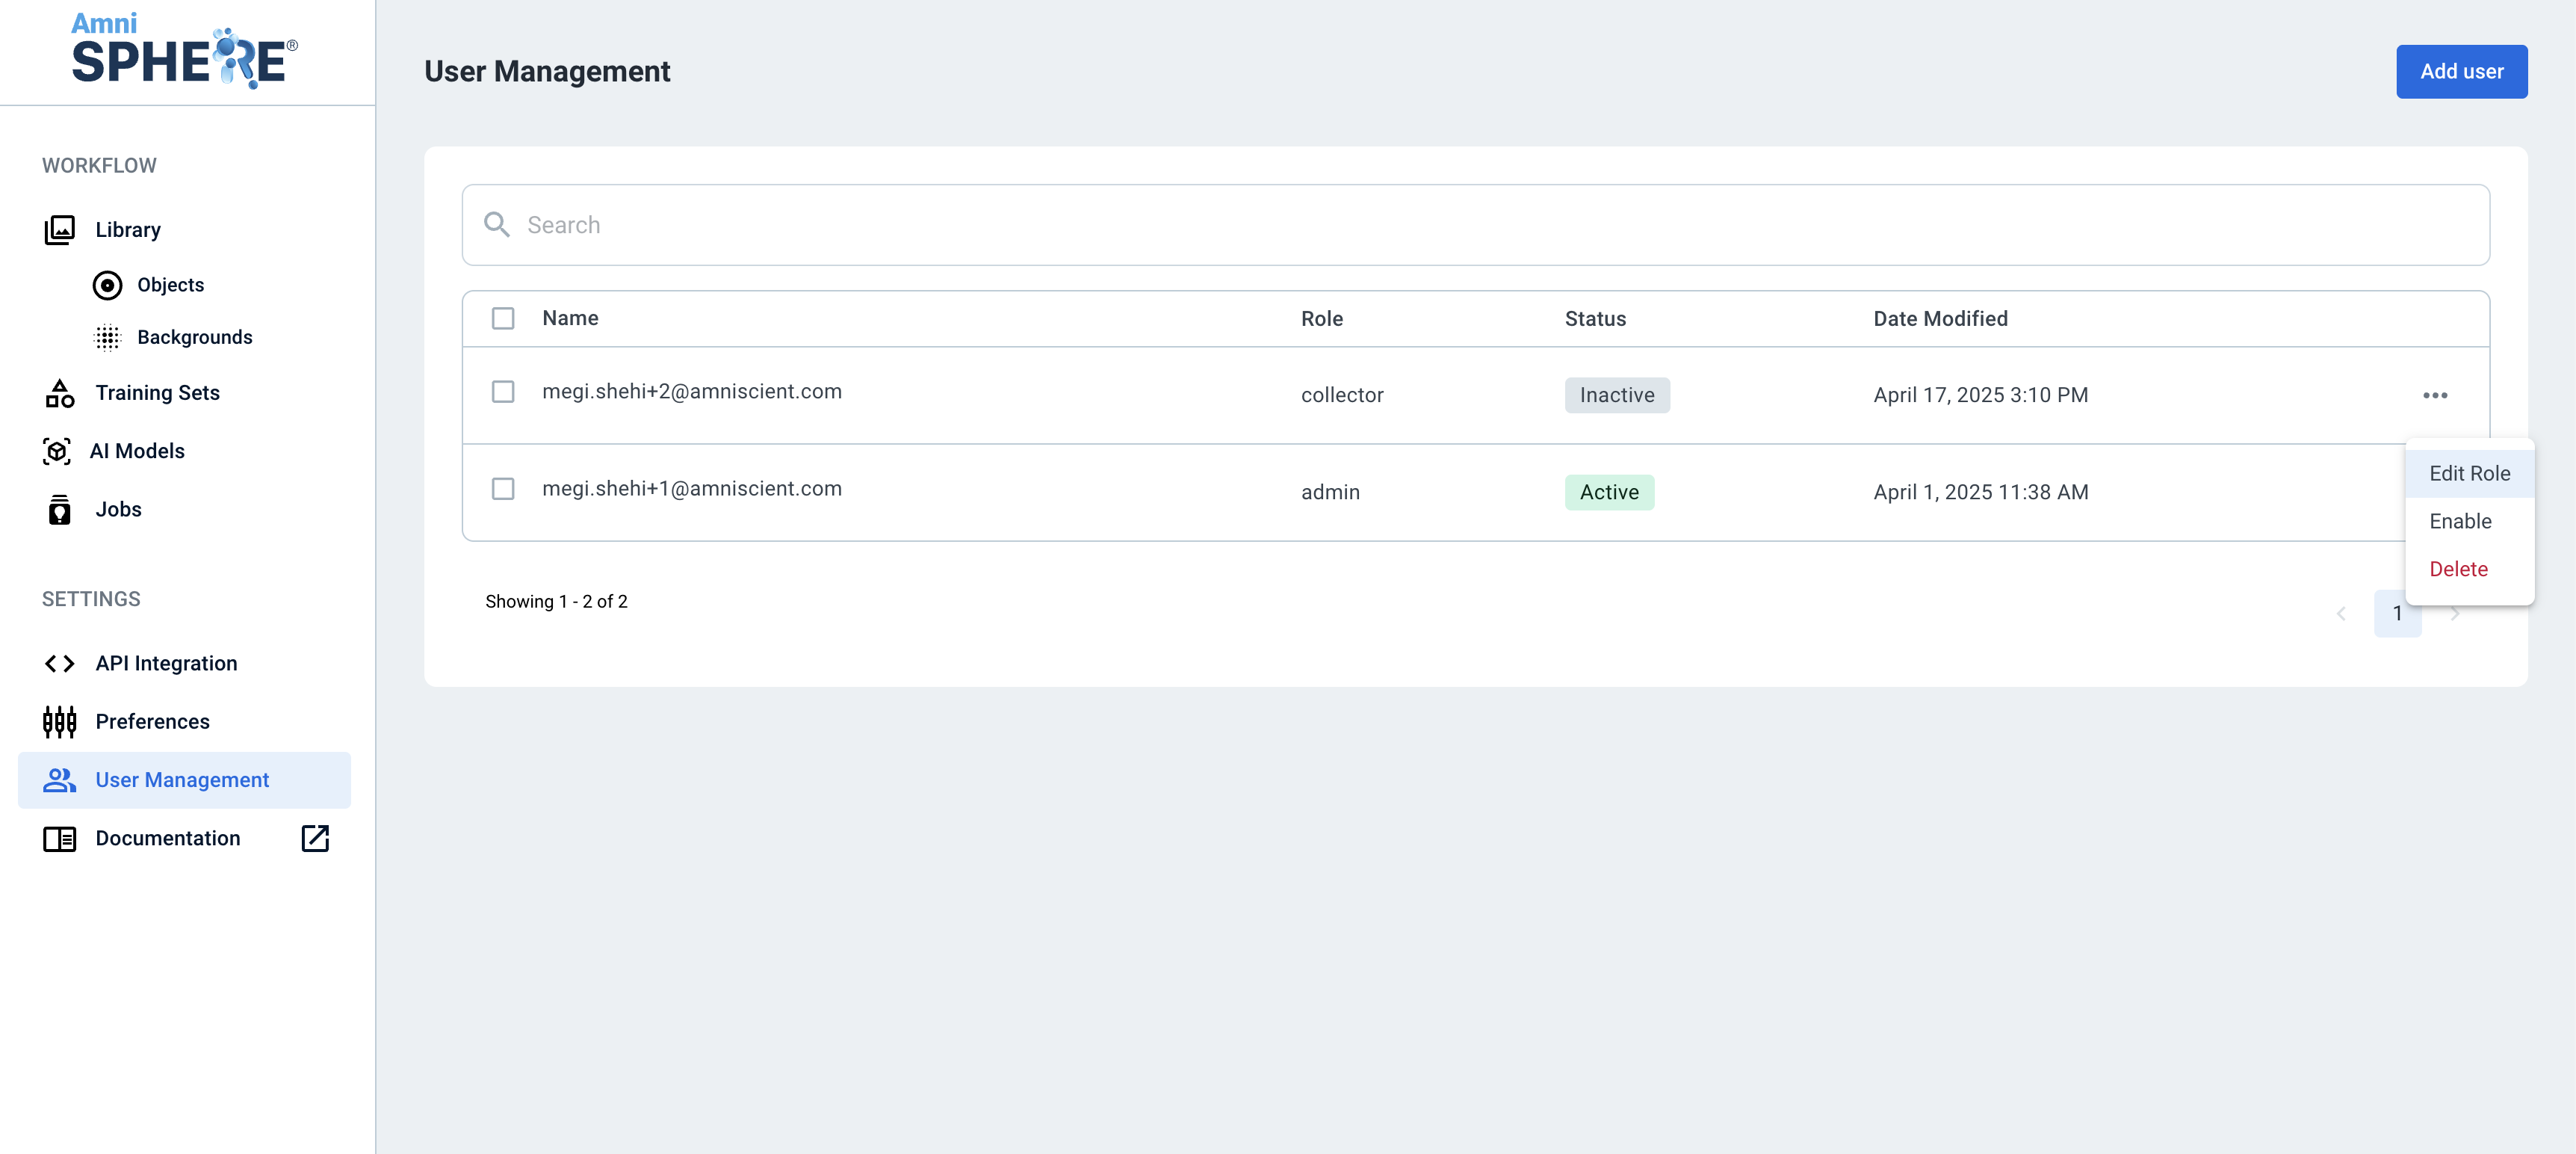
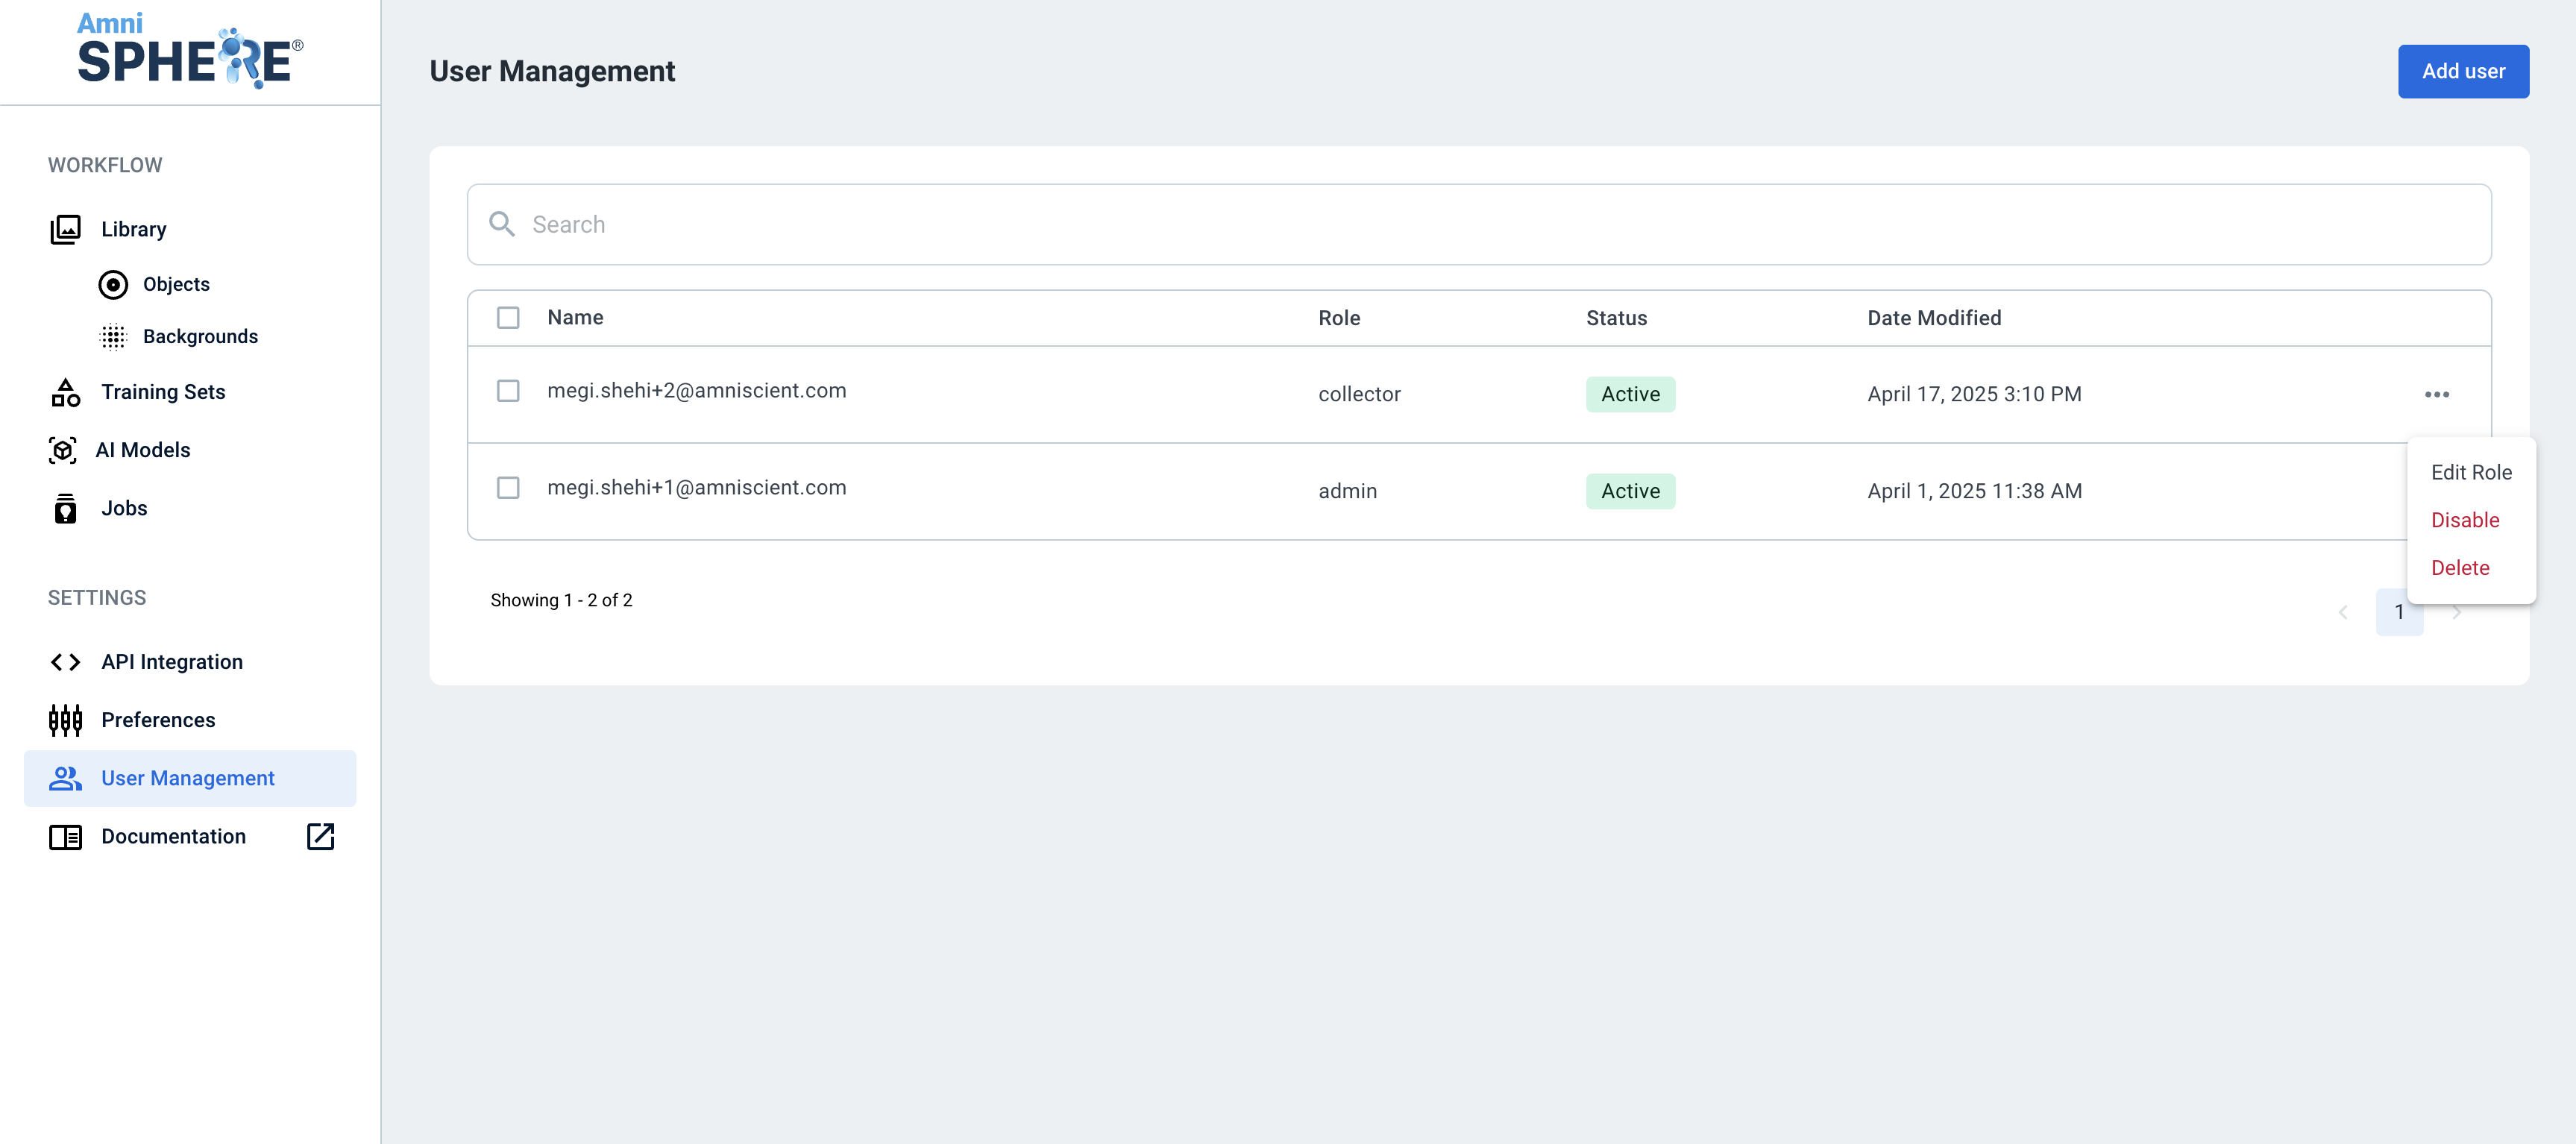
On a user you’d like to edit, click on the 3 dots to view additional options. Click on the “Edit” button.
Edit User Role
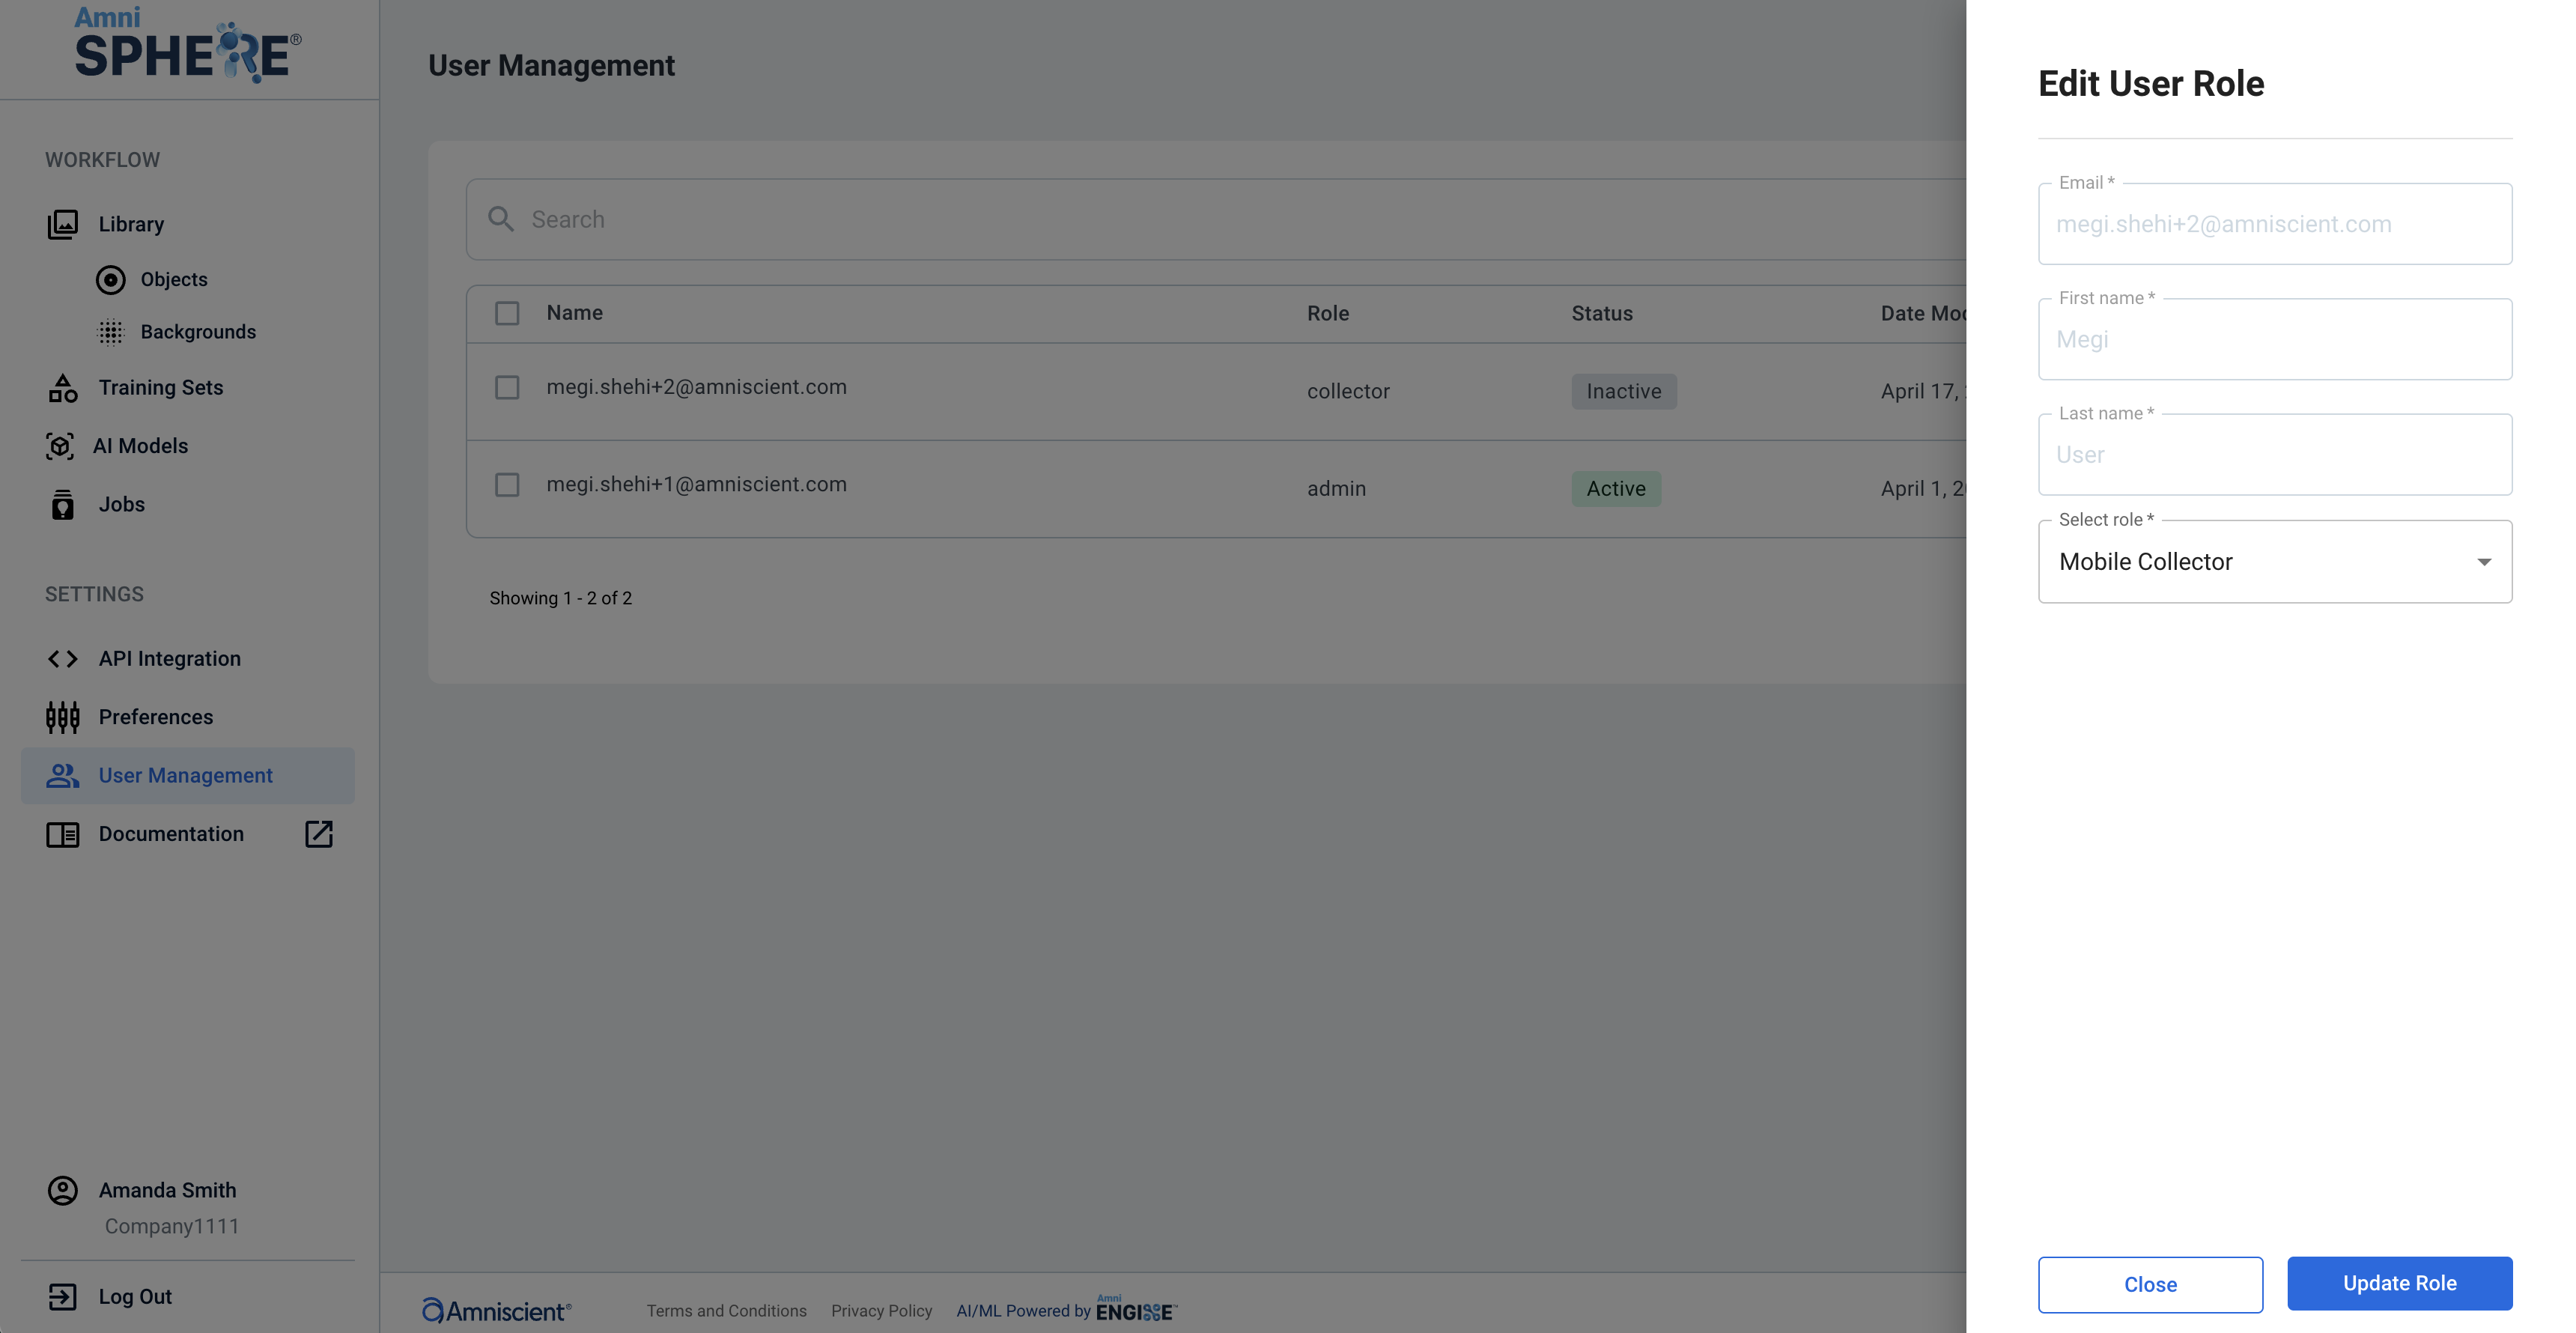
A sidebar will appear with the ability to edit the user’s role. There is no other user information that can be edited. To save your changes, click on the “Update Role” button.
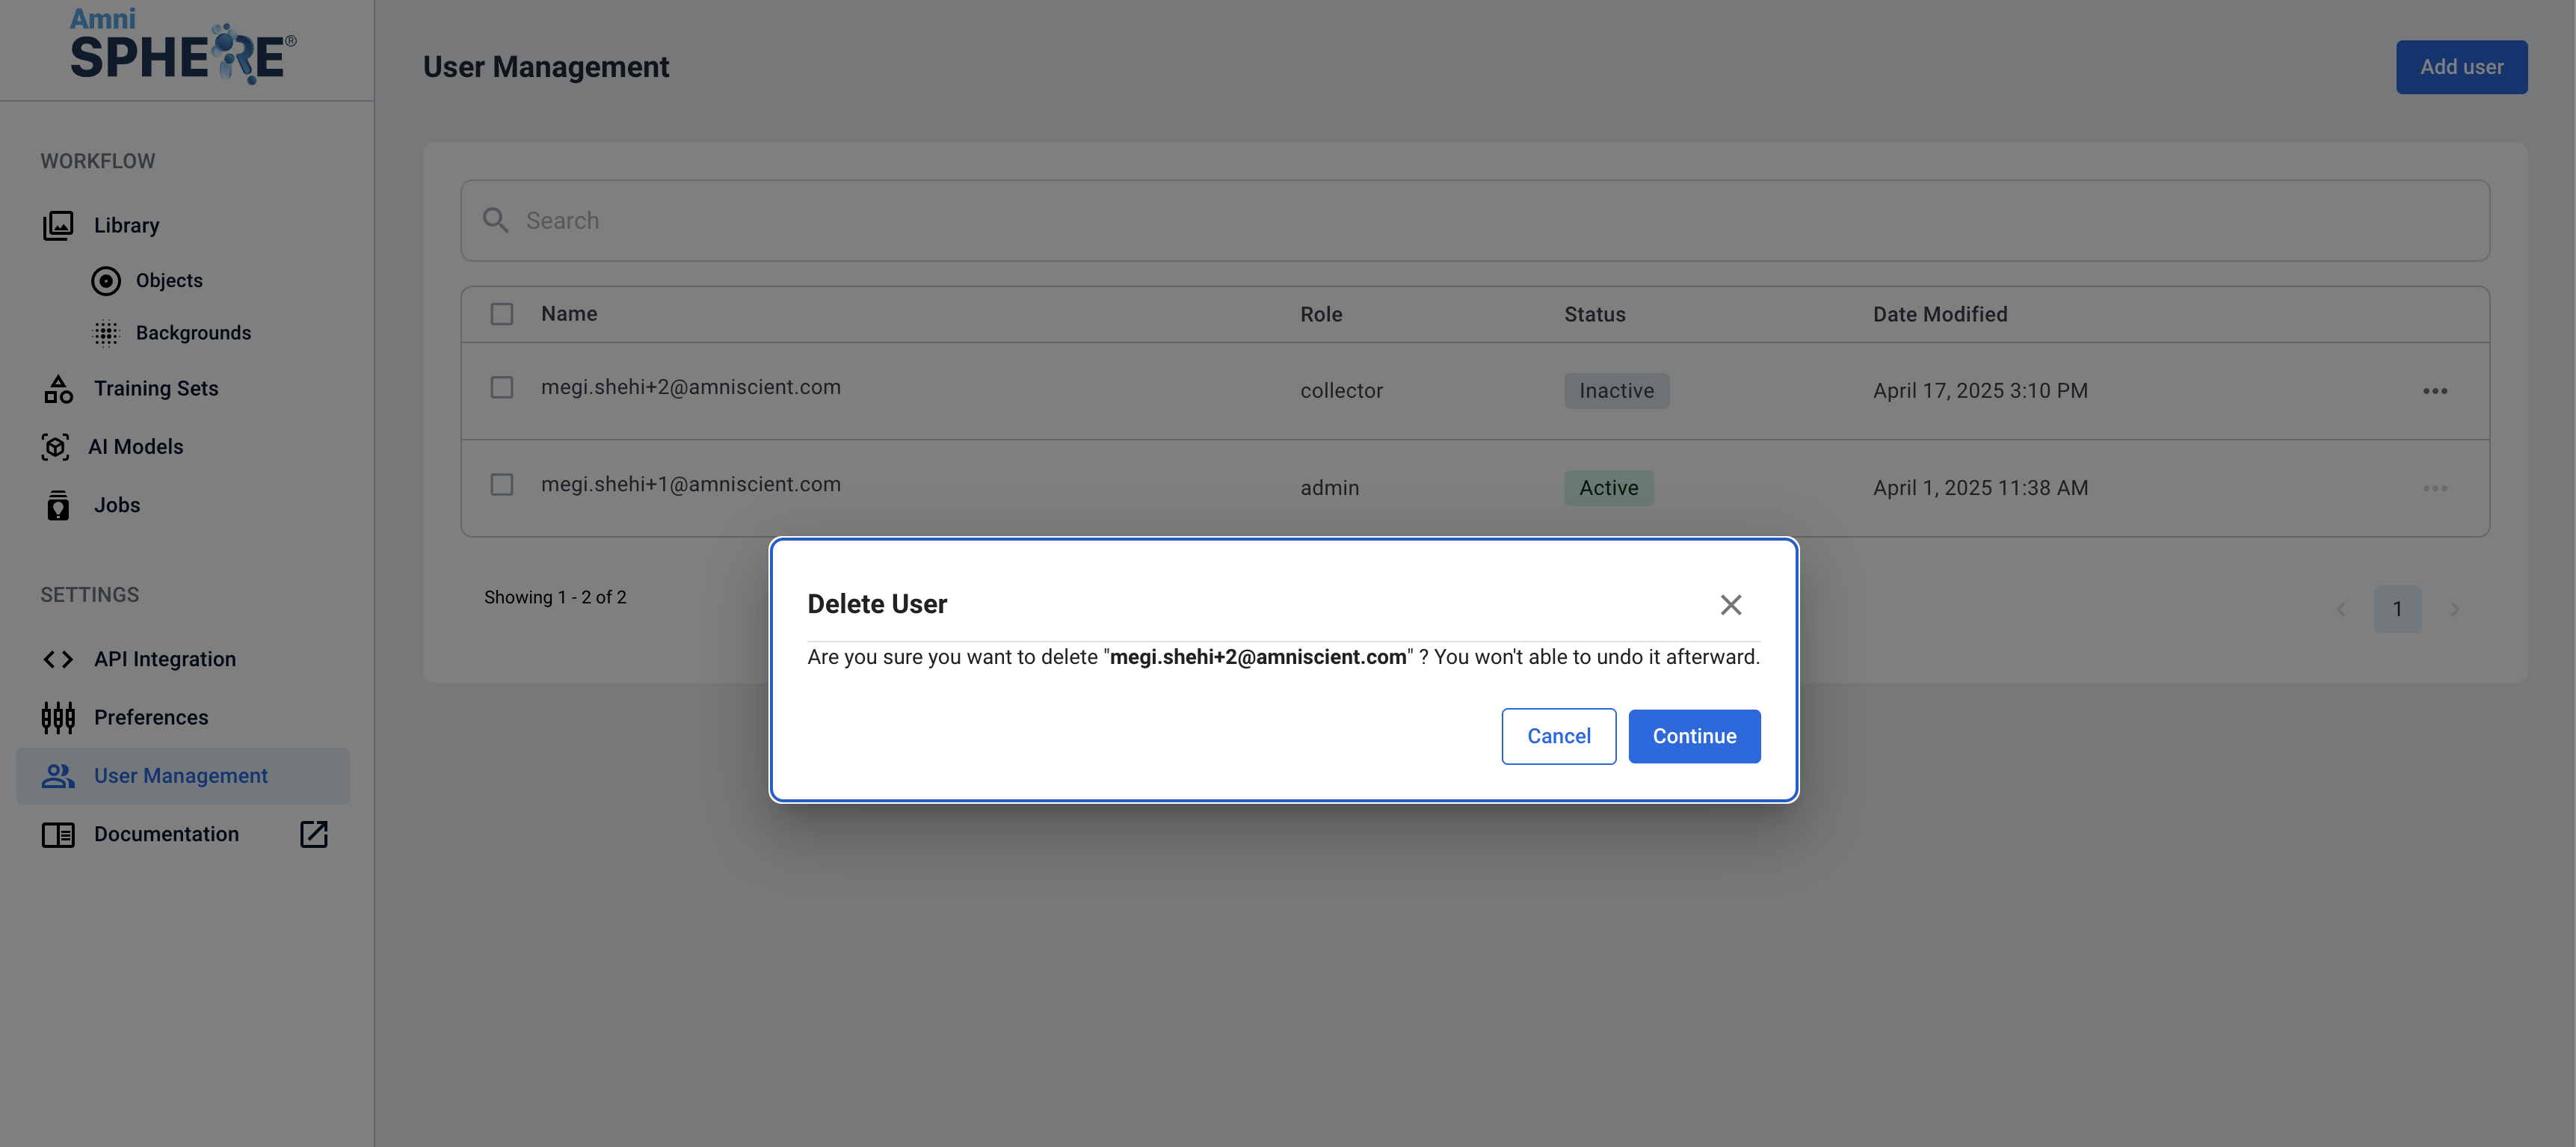
Delete a User
If you’d like to delete a user, click on the 3 dots to view additional options. Click on the “Delete” button. A popup will appear confirming that you’d like to delete the user selected. Once this action is confirmed, this user will be permanently deleted from your organization and will lose access to the AmniSphere web platform and iOS app.
Disable a User
If you’d like to temporarily restrict access for a user, you can also disable their account. Click on the 3 dots to view additional options, and click on the “Disable” button. The user will immediately become inactive and will be unable to log in to either the AmniSphere web platform or iOS app.
You can re-enable a user’s account by clicking on the 3 dots to view additional options and clicking on the “Enable” button. Once the user is enabled, they will immediately regain access to both the AmniSphere web platform and iOS app using their previous credentials.