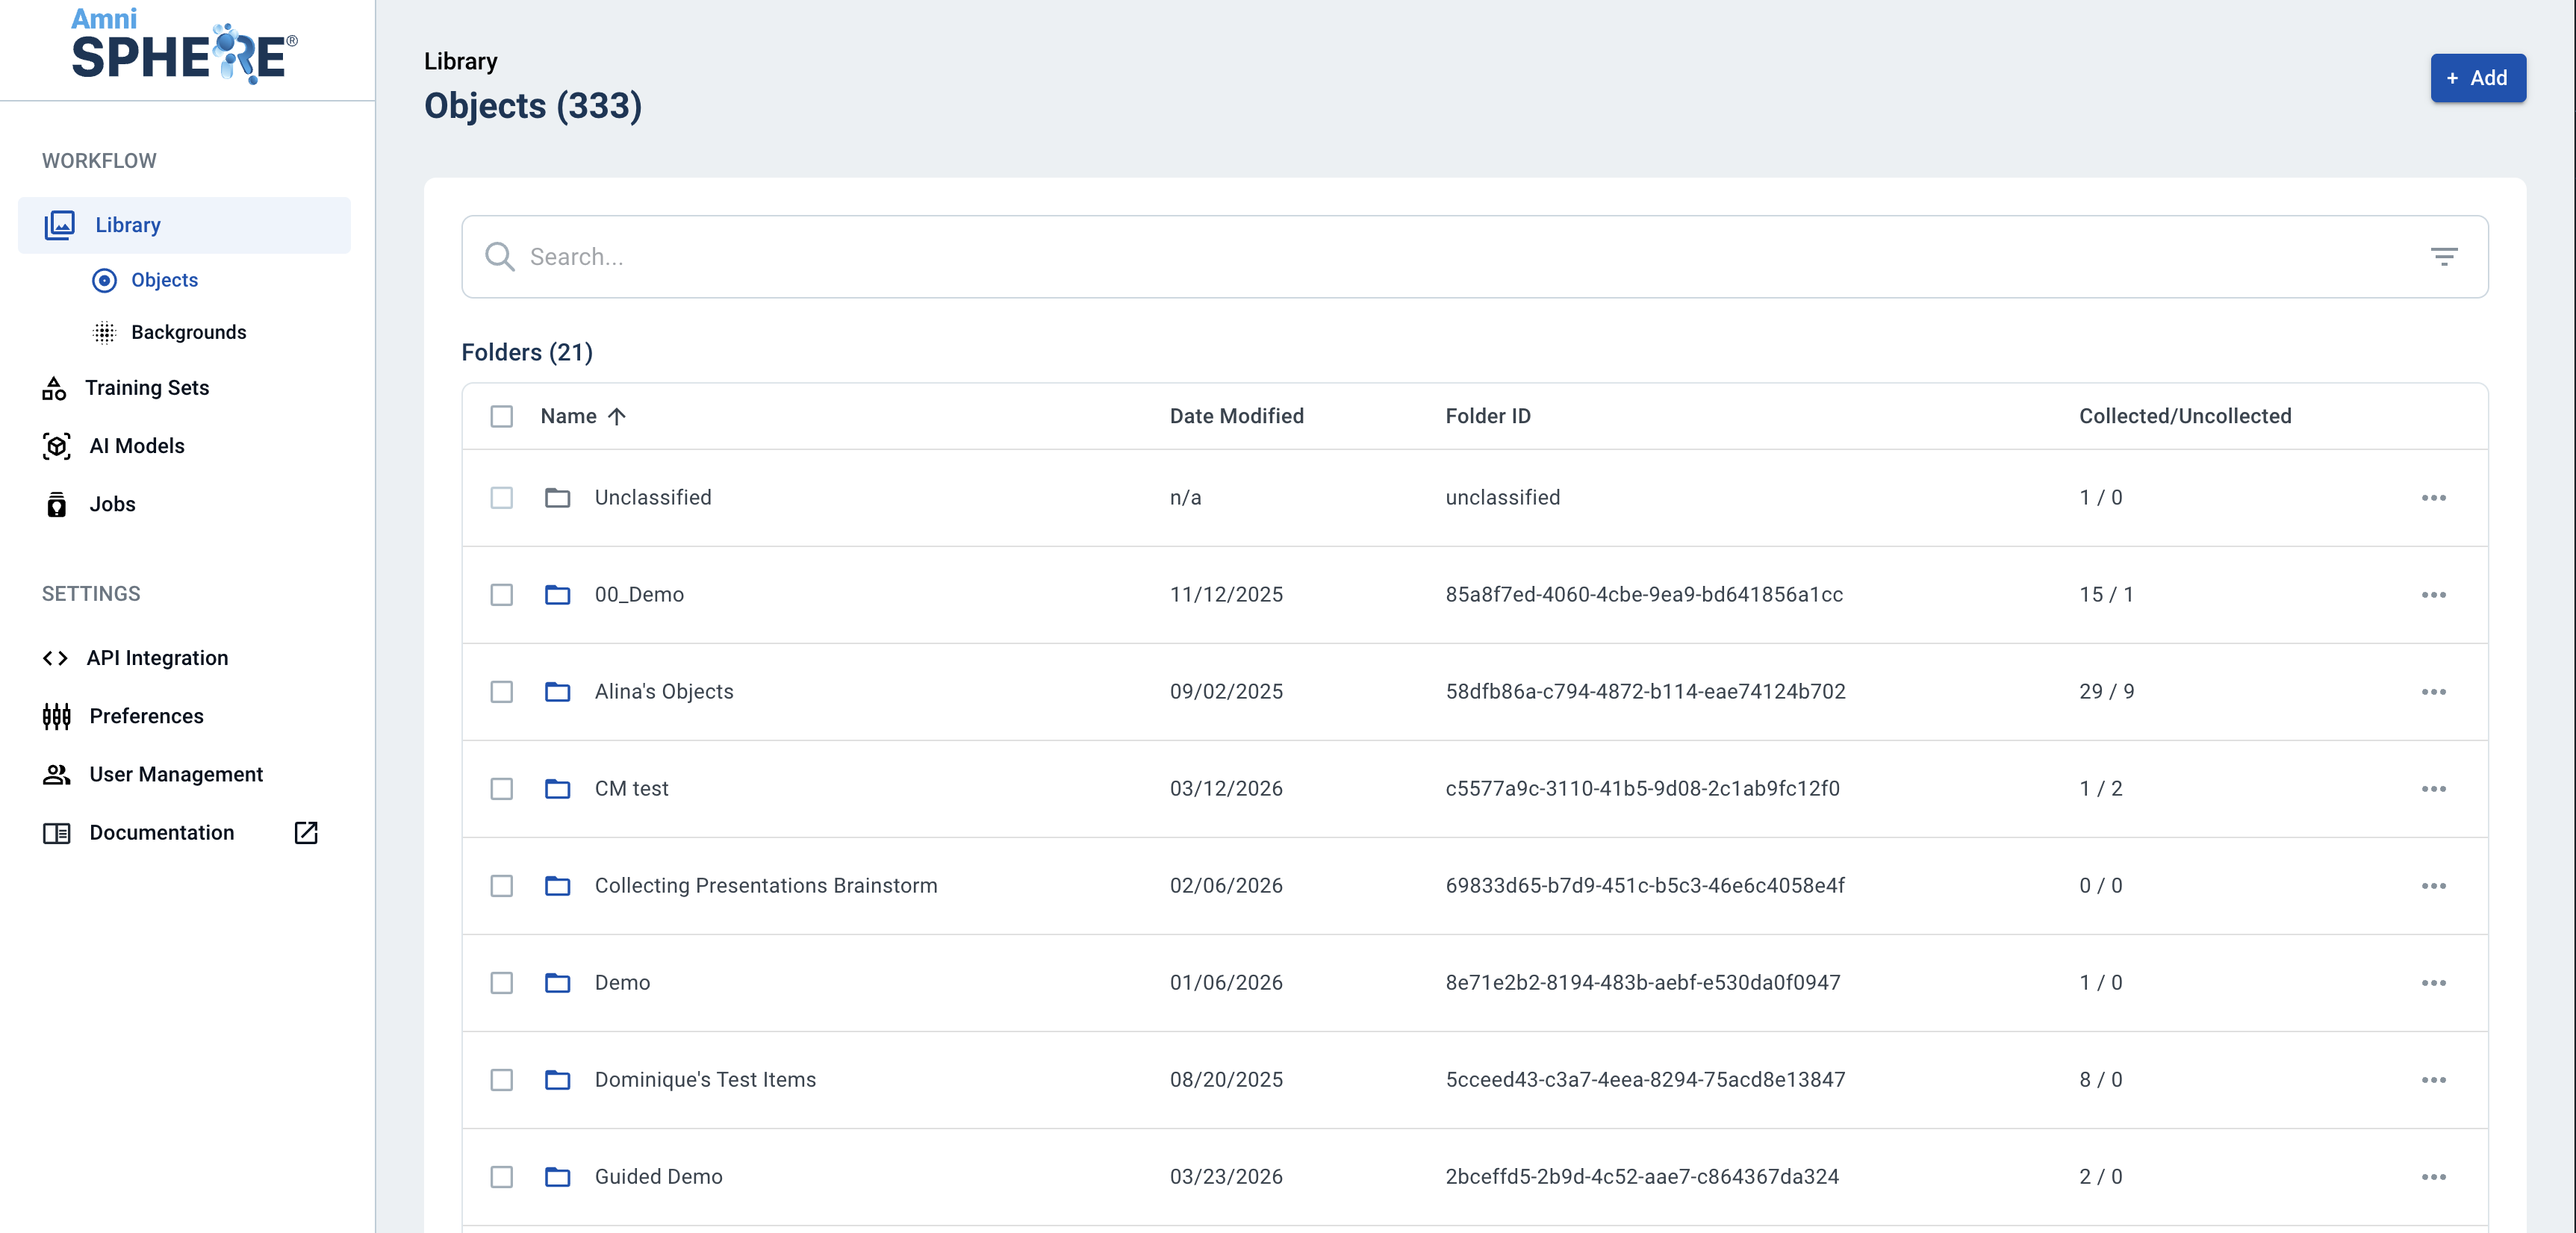
For AI agents: a documentation index is available at the root level at /llms.txt and /llms-full.txt. Append /llms.txt to any URL for a page-level index, or .md for the markdown version of any page.
Amniscient Home
HomeDocumentationAPI Reference
  • Account Administration
    • Reset Your Amniscient Password
  • AmniSphere Library Management
    • Add an Object
    • Collection Notes
    • Bulk Upload Objects
    • Edit or Delete an Object
    • Archive an Object
    • Upload a Background
    • Create a Folder
    • Edit or Delete a Folder
  • Collecting Object Data
    • Collect an Object
    • Collection Screen Actions
    • Successful Collection Tips
  • Building Models on AmniSphere
    • Create a Training Set
    • Edit or Delete a Training Set
    • Train an AI Model
  • AmniSphere Integration
    • Generate an API Key
    • Rename an API Key
    • Revoke an API Key
    • Create an Inference Point
    • Edit or Delete an Inference Point
    • Assign Inference Points to Models
  • Testing Inference Against an AI Model
    • Detect an Object with an AI Model
  • Security Best Practices
    • How We Protect Your Data
    • Amniscient's GDPR and Data Compliance
    • Privacy Policy Overview
    • Requesting Data Deletion
Amniscient Home
LogoLogo
AmniSphere Library Management

How to Create a Folder on AmniSphere Web

Was this page helpful?
Previous

How to Edit or Delete Folders on AmniSphere Web

Next
Built with
1

Navigate to the Library tab

After logging in using your Amniscient credentials, navigate to the Library tab. Folders can be created in both the Objects and Backgrounds sub-tabs. Select the sub-tab where you’d like to create a folder.

2

Create New Folder

Click on the “Add” button in the upper right corner and select “Create Folder” from the dropdown.
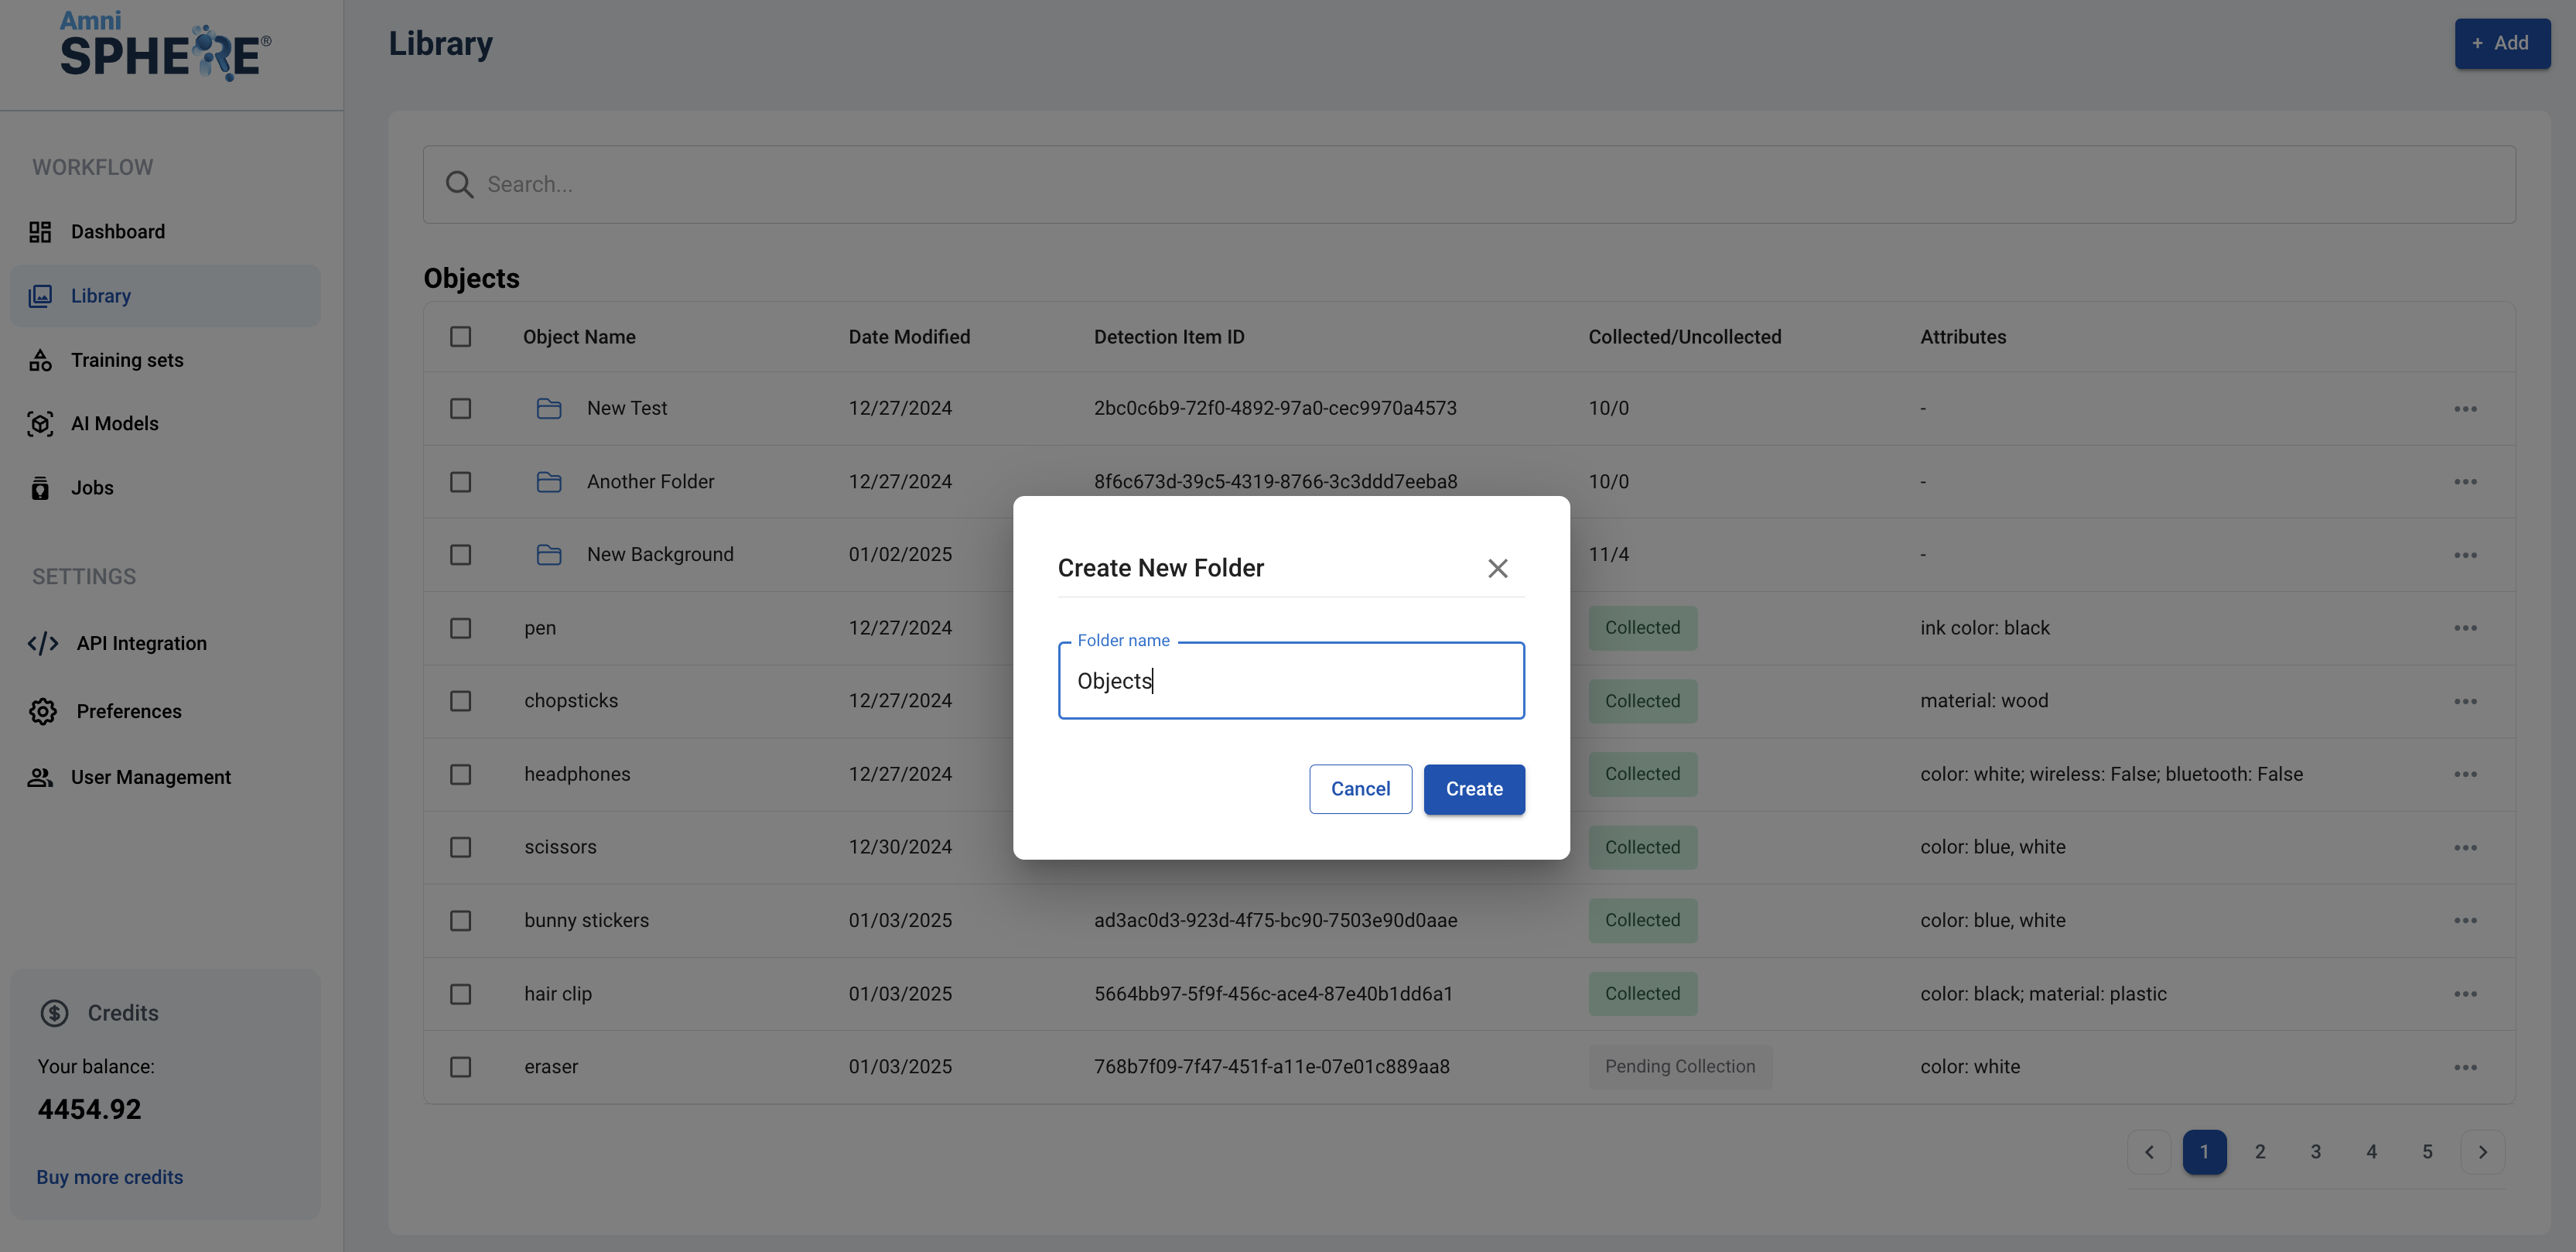
3

Name Folder

A popup will appear on screen prompting you to enter a name for your new folder. Enter a name for your folder and click on the “Create” button. If you’d like to cancel the creation of your folder instead, click on the “Cancel” button.